
Fall is one of my favorite times of year! My students love it too because we can use them for so many different reasons. Here are a few lessons I do each year in my class to celebrate fall.
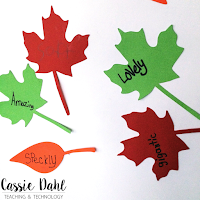
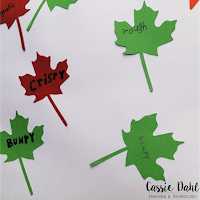
Up first, talking about some very awesome adjectives! We made a super quick anchor chart using some leaf cutouts. Students wrote awesome adjectives on their leaves and used stick glue to glue them on the chart. [I did take a photo of the whole chart but there is a major glare on it… sorry]

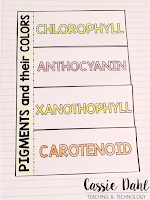
Then of course we had to do some fall science! We pulled the pigments out of different colors of leaves (chromatography). All you need is some leaves, glass jars, rubbing alcohol and some coffee filters. You can read my post about the entire process here.
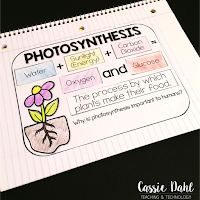
We also read an informational text all about photosynthesis and used the information in the text to fill out two interactive notebook pages.
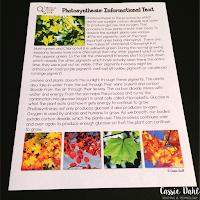
You can grab those resources in my Leaf Investigations Pack. It has posters, INB pages, the informational text, directions for the leaf chromatography lab and student recording page. Check it out here.

I also did a blog post all about the science behind leaf pigments. The directions for the leaf chromatography lab can be found here.
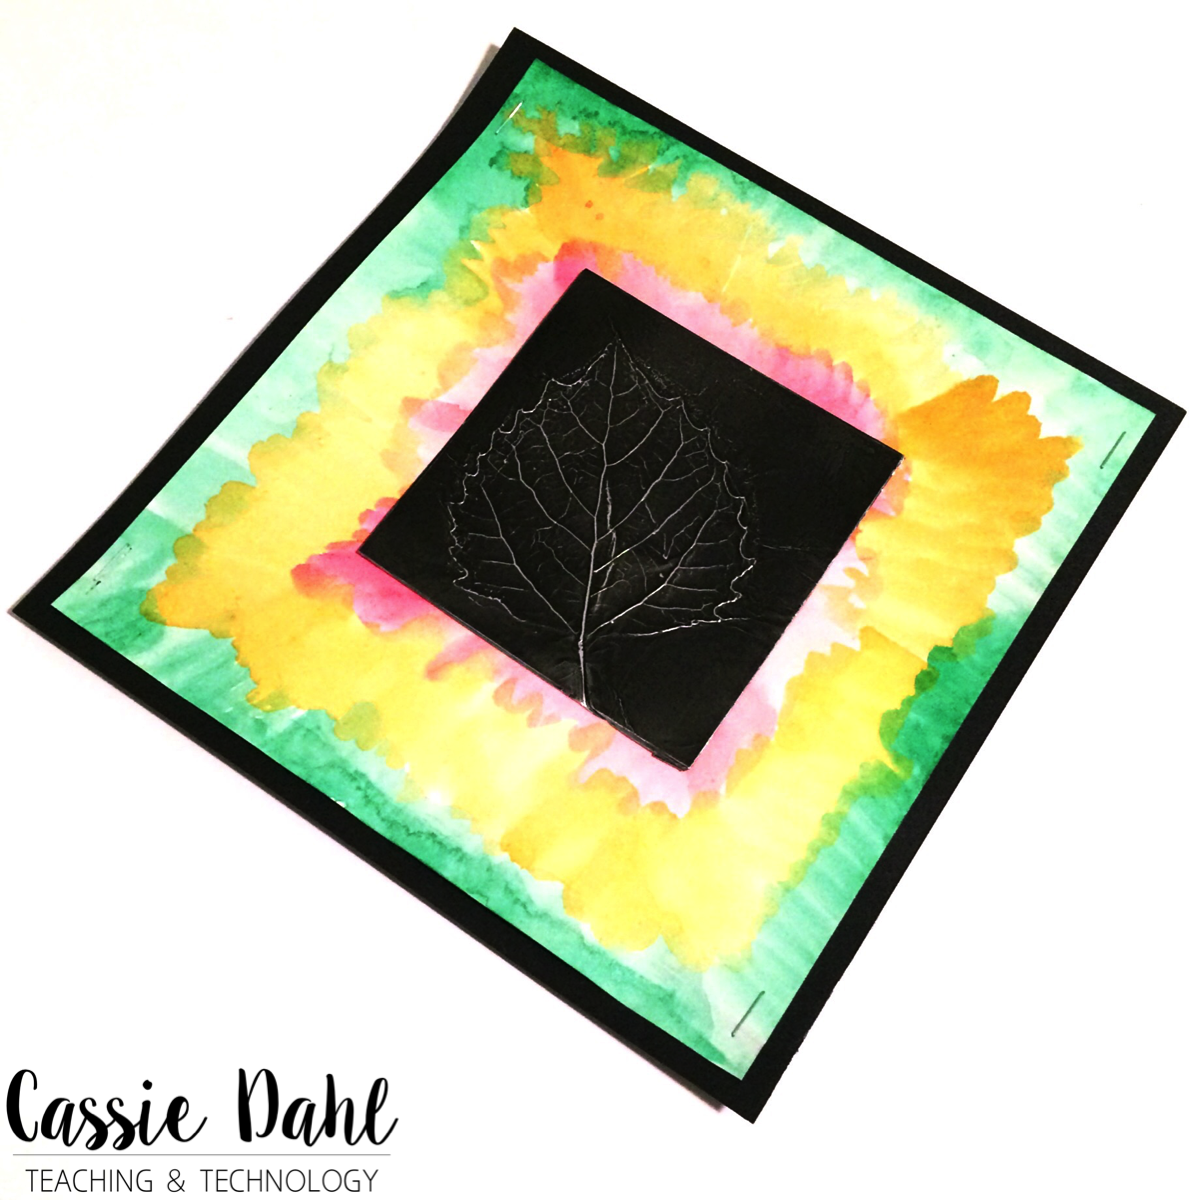
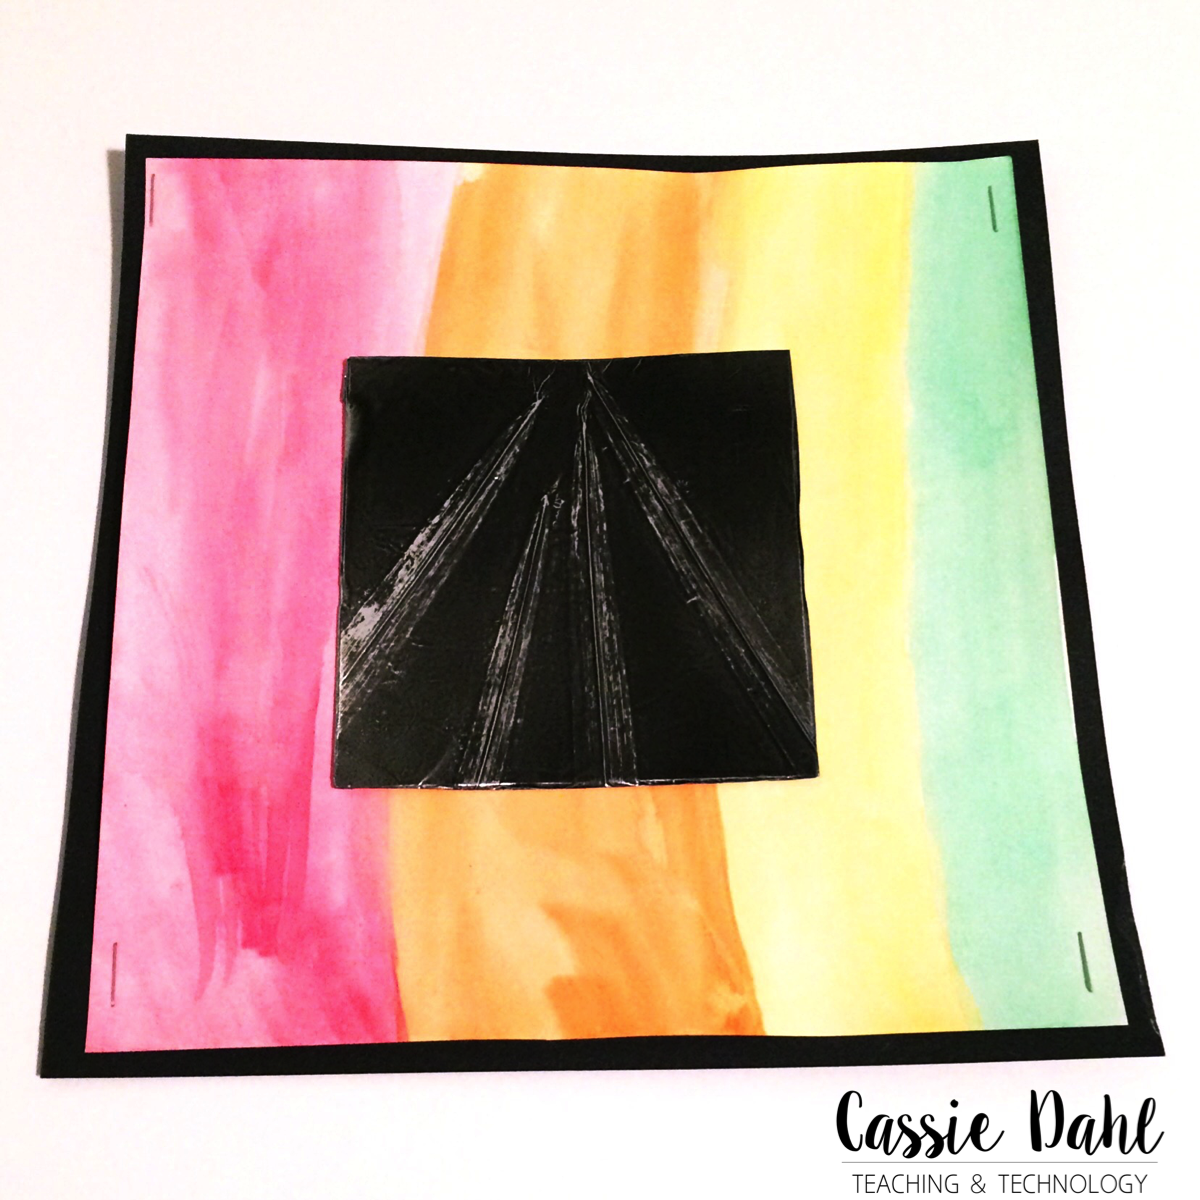
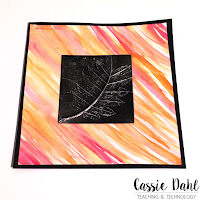
Of course we have to add a little bit of art into the learning as well! We created leaf relief prints and painted a watercolor background for them to be mounted on.

I just LOVE LOVE LOVE how they turned out and it is so easy to create them!
Here are the steps:
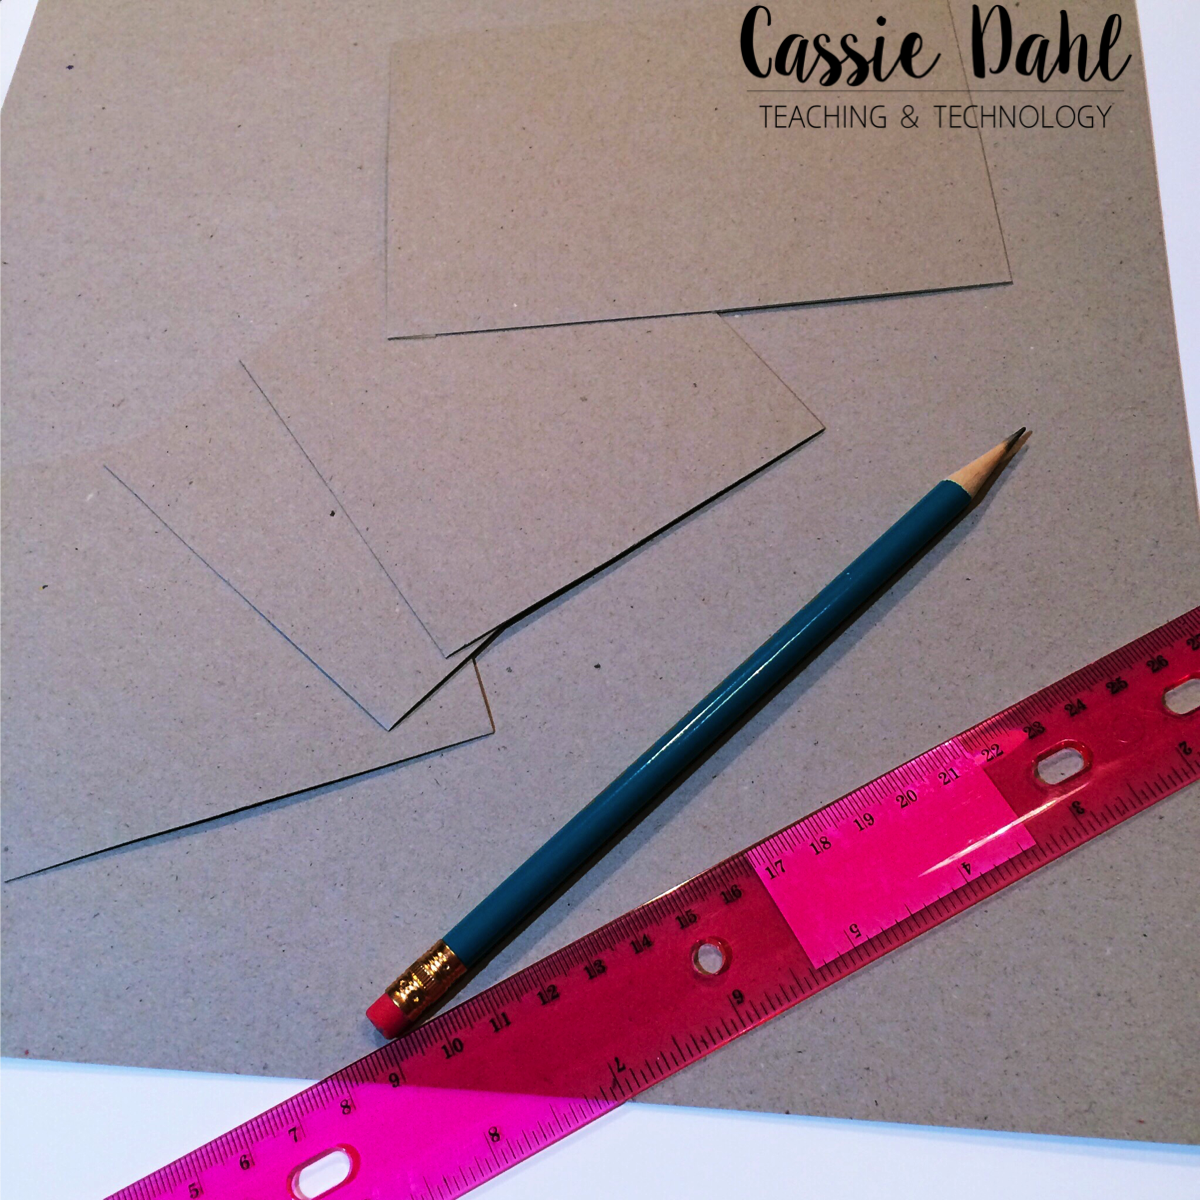
Step 1: Cut cardboard to the size that you want your reliefs. We choose to make ours 4″ x 4″.

Step 2: Place your leaves on the cardboard.
In the photo above we cut rolled vinyl to place in-between the cardboard and the leaves to add more texture, totally an optional step. You could easily add lace or ribbon that has a fine detail to add more character, or just stick to the basics and have just cardboard with the leaves.
Place the leaves veiny side up and use some spray adhesive underneath them to get them to stick to the cardboard. Don’t have spray adhesive? Use some mod podge with a paint brush and just apply a thin coat.
Step 3: Cut off any leaf/stem edges that are hanging over the edge.
Step 4: Cover the cardboard and leaves with the cheap aluminum foil (like what you would use for baking).
Buy the cheap brand… the foil is thinner which allows the details from the leaves to show through more.
Use some masking tape to secure the foil on the back side of the cardboard.
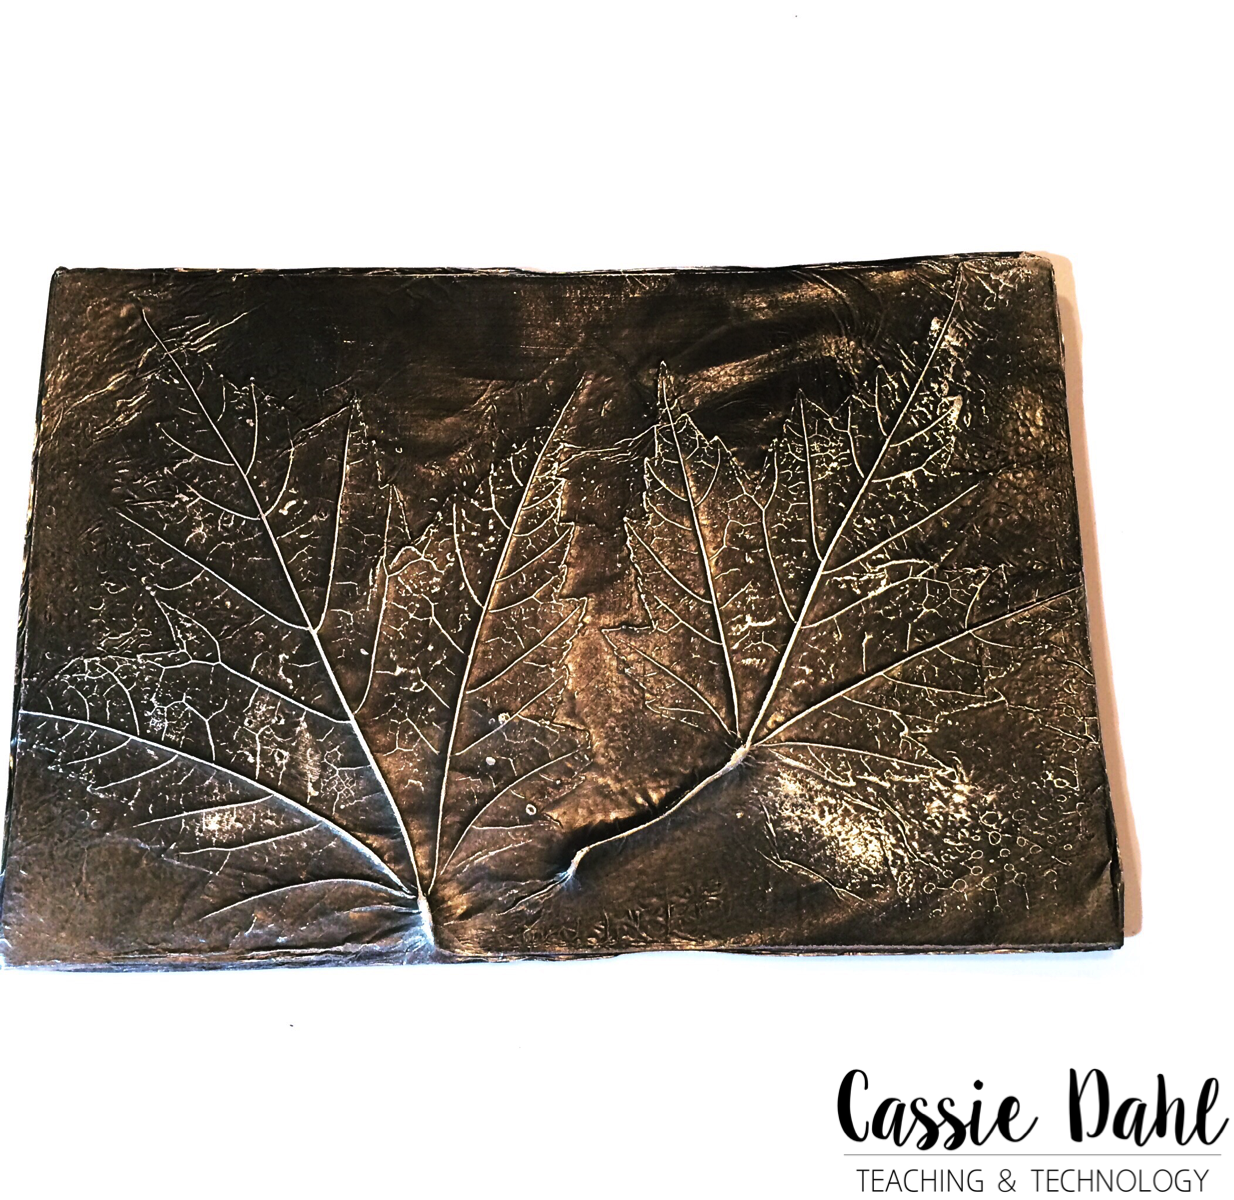
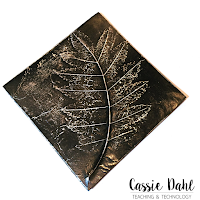
Step 5: Using your finger, carefully press/rub the foil to reveal the detail form the leaf below it. (Remind your students to be careful not to rip the tin foil.)

Step 6: In a well ventilated area, spray the leaf reliefs with a light coat of black spray paint.
You will want to use matte or flat finish, glossy paint is harder to use in the next step. Go with the CHEAPEST spray paint you can find. Seriously, Home Depot has some for like $1 a can… score! Let the reliefs dry.

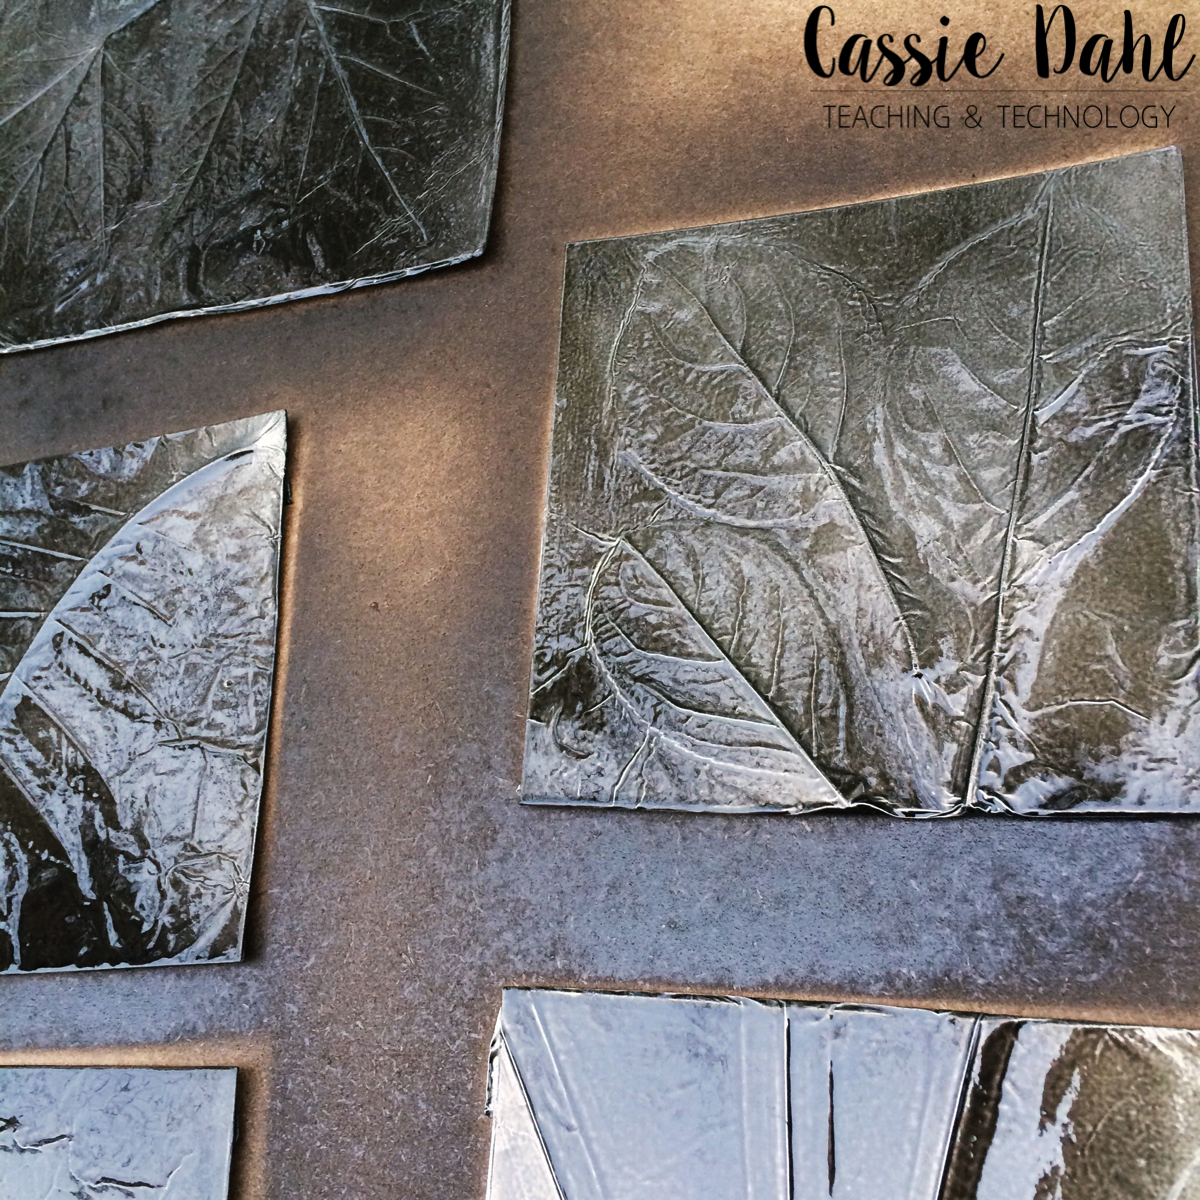
Step 7: After the leaf reliefs are dry, use some Steel Wool (super fine #0000) to burnish the foil.
Students should focus on where the leaf imprint is. Students need to be extremely careful with this step. If rips/tears in the foil occur, try to glue them down or use a black sharpie/silver paint pen to cover the whole. Most of the time the students saw a little tear happening so they just moved to a different part and stayed away from the tear.
Here are some examples of the leaves after they were burnished with the steel wool.

Step 8: Paint a piece of tagboard with watercolors to create a background for the leaf relief.
My students were only able to use “fall colors”. After the watercolor has dried, mount the leaf relief on to the tagboard using glue.
SIDE-NOTE: You can also back them one more time with a piece of black card stock/construction paper to give it a little bit more dimension and to give the watercolored paper a “reason” to not curl up on itself.
The measurements for the materials we used:
- cardboard: 4″ x 4″
- watercolored tagboard: 8″ x 8″
- black card stock/construction paper backer: 8.5″ x 8.5″
And there you have it, some amazing leaf relief art projects!!
Are there any fall activities that you just can’t imagine not doing in your classroom? I would love to hear about them!! Want to save these ideas for later? Pin one of the images below to save and share with friends!